Are you tired of searching for the right parts and service for your tech appliances? Finding clear, reliable photos of appliance parts can make all the difference when you need a quick repair or upgrade.
You’ll discover how quality images can help you identify the exact components you need, save time, and avoid costly mistakes. Keep reading to unlock the secret to making your tech appliance repairs easier and more efficient.

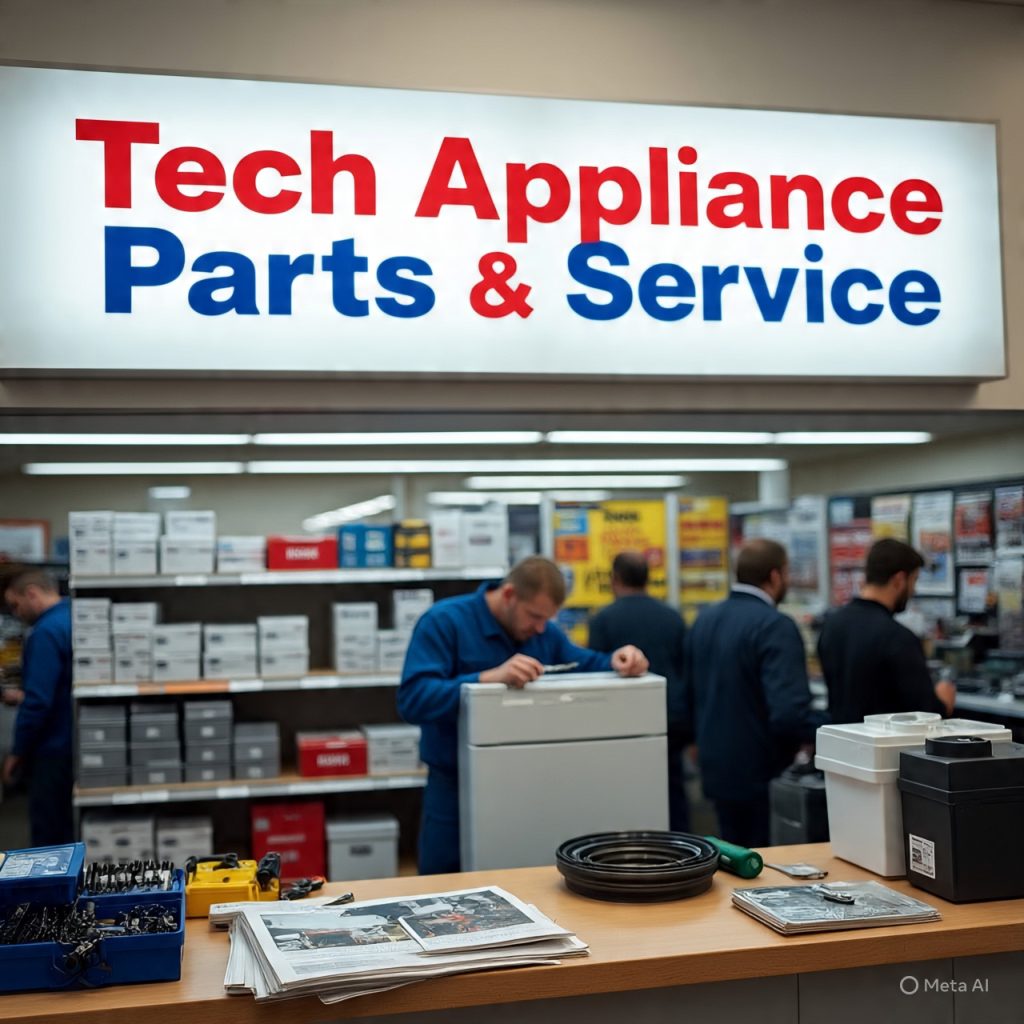
Credit: m.yelp.com
The Importance Of Visual Guides
Visual guides play a key role in tech appliance parts and service. They help users understand complex information quickly. Photos and diagrams show exact parts and repair steps. This clarity reduces mistakes and saves time. Clear images support both beginners and professionals. Visual guides make tech repairs less intimidating and more accessible.
Enhancing User Experience
Photos provide clear views of appliance parts. Users can identify components without confusion. Visuals help explain technical terms simply. They reduce the need for long text instructions. Users feel more confident following step-by-step images. This improves satisfaction and reduces frustration.
Streamlining Repairs And Maintenance
Service photos highlight important details in repairs. Technicians find the right parts faster. Visual guides help spot common issues quickly. They prevent errors by showing exact locations. Clear images reduce the chance of damaging parts. Repairs become more efficient and less stressful.
Common Tech Appliance Parts
Understanding common tech appliance parts helps you troubleshoot and maintain your devices better. Whether you’re fixing a broken gadget or just curious about what makes your appliances tick, knowing the key components gives you a solid advantage. Let’s break down the most common parts you’ll encounter in tech appliances.
Electronic Components
Electronic parts control the functions and operations inside your appliances. These include circuit boards, sensors, and microchips that regulate power, timing, and user commands.
- Circuit Boards:Often called the brain of the appliance, these boards connect all electronic parts and ensure they communicate properly.
- Sensors:Detect changes like temperature, humidity, or motion, helping devices respond automatically.
- Capacitors and Resistors:Manage electrical flow to protect delicate components and stabilize voltage.
Have you ever wondered why a simple sensor failure can stop your whole appliance? That’s because these small components play a big role in keeping everything running smoothly.
Mechanical Parts
Mechanical parts are the moving pieces you can often see or hear inside your appliance. They perform physical actions like spinning, opening, or closing parts of the device.
- Motors:Convert electrical energy into motion, powering fans, drums, or blades.
- Bearings and Gears:Help moving parts operate smoothly and reduce wear and tear.
- Springs and Levers:Provide tension or enable movement for buttons, doors, and other mechanisms.
Sometimes, a worn-out bearing or a broken spring is the reason your appliance stops working. Have you checked these simple parts before assuming the problem is more complicated?
Identifying Parts With Photos
Identifying appliance parts through photos can save you a lot of time and frustration. When you’re faced with a broken appliance, knowing exactly what part you need is crucial. Clear, accurate photos make this process much easier, helping you avoid ordering the wrong components and delaying repairs.
High-resolution Images
High-resolution photos show every detail of the part you need. You can zoom in to see tiny screws, connectors, or labels that low-quality images might blur out. This clarity helps you compare the photo with your broken part more confidently.
Think about a time when you ordered a replacement part only to find it didn’t fit. That’s often because the images were unclear or too small. High-resolution images reduce this risk by giving you a precise look at the part’s shape and design.
Detailed Descriptions
Photos alone aren’t always enough. Detailed descriptions alongside images explain the part’s function, compatibility, and specifications. This extra information can help you understand if the part matches your appliance model.
Descriptions often include dimensions, materials, and common issues the part fixes. When you read these details, you’re less likely to make mistakes in your order. Have you ever missed a tiny but important detail because the description was vague? Detailed notes solve that problem.

Credit: m.yelp.com
Step-by-step Service Guide
Following a clear service guide ensures appliance repairs are efficient and effective. This guide breaks down the repair process into manageable steps. Each part helps technicians understand what to do next. The goal is to fix the appliance safely and quickly.
Initial Assessment
Start by examining the appliance carefully. Look for visible damage or worn-out parts. Listen for unusual sounds when the appliance runs. Check if the appliance powers on or shows error codes. This helps identify the root problem early. Note down all findings for reference during repair.
Tools And Equipment Needed
Gather all necessary tools before starting the repair. Common tools include screwdrivers, pliers, multimeters, and cleaning brushes. Safety gear like gloves and goggles is important. Using the right equipment speeds up the service. It also prevents damage to parts or injury.
- Screwdrivers (flathead and Phillips)
- Multimeter for electrical testing
- Pliers and wire cutters
- Replacement parts specific to the appliance
- Cleaning cloths and brushes
- Protective gloves and eyewear
Repair Procedures
Begin by unplugging the appliance to ensure safety. Remove covers or panels to access internal parts. Replace or repair the faulty components found during assessment. Test electrical connections with a multimeter. Clean any dust or debris inside the appliance. Reassemble the appliance carefully. Finally, power it on to check if the repair works correctly.
Troubleshooting Common Issues
Troubleshooting common issues with tech appliances requires a clear understanding of the problem. Early detection can save time and money. This section helps you recognize problems quickly and shows how to use photos for better diagnosis. Visual clues often reveal the root cause of many appliance faults.
Identifying Symptoms
Start by observing what the appliance does wrong. Listen for unusual sounds like buzzing or clicking. Notice if it fails to start or stops suddenly. Check if it heats or cools less than usual. Pay attention to error messages or blinking lights on digital displays.
Write down every symptom clearly. This helps in comparing with common faults later. Small details often point to specific parts or issues.
Visual Diagnosis Tips
Use photos to spot visible damage or wear. Look for burnt wires, broken components, or loose connections. Check for dirt, dust, or corrosion on circuit boards or terminals. Photos can show signs of overheating like discoloration or melted plastic.
Compare current photos with images of a fully functional appliance. This visual contrast highlights what needs repair or replacement. Clear pictures also help when seeking expert advice or ordering parts.

Credit: www.smarttechappliancerepair.com
Benefits Of Using Visual Guides
Visual guides transform how you interact with tech appliance parts and services. They offer a clear, straightforward way to understand complex details without wading through confusing manuals or lengthy instructions. Using photos and diagrams helps you grasp the exact part or repair step instantly, saving time and preventing mistakes.
Reducing Miscommunication
Words can sometimes fail to explain the exact part or issue, especially with technical terms. Visual guides show you the precise component, its placement, and condition, leaving little room for guesswork.
Imagine trying to describe a small connector to a technician over the phone. A photo can eliminate confusion and ensure both of you are on the same page. This clarity prevents ordering the wrong parts or performing incorrect repairs.
Increasing Efficiency
Visual guides speed up the repair process by providing instant reference points. Instead of flipping through pages or searching online, you have the exact image you need right at your fingertips.
This means less downtime for your appliance and faster service. Whether you’re a DIY enthusiast or a professional technician, clear images help you quickly identify issues and move on to the solution.
Tips For Creating Effective Photos
Capturing clear and informative photos of tech appliance parts and services improves understanding. Effective photos help customers identify parts quickly and avoid confusion. Simple techniques make photos more useful and professional.
Lighting And Angles
Use bright, even lighting to avoid shadows and glare. Natural light or soft white bulbs work best. Avoid harsh lighting that hides details or creates reflections.
Choose angles that show the part’s shape and features clearly. Shoot from multiple sides if needed. Close-up shots highlight small details like screws or connectors.
Labeling And Annotations
Add labels directly on photos to name parts or show functions. Use clear, readable fonts and contrasting colors. Keep labels short and simple.
Annotations like arrows or circles draw attention to key areas. This guides viewers to important details. Well-labeled photos reduce questions and improve communication.
Case Studies And Success Stories
Case studies and success stories show how Tech Appliance Parts & Service Photos help solve real problems. They reveal the practical value of our service and parts in everyday use. These stories highlight how customers improve appliance repair and maintenance with clear, detailed photos. This builds trust and shows the effectiveness of our solutions.
Real-world Applications
Tech Appliance Parts & Service Photos assist technicians and DIY users in many ways. Photos provide exact visuals of parts and repair steps. This reduces guesswork and speeds up repairs. For example, a repair shop used our photos to identify a rare part quickly. This saved hours and lowered costs. Another case involved a homeowner fixing a washing machine using clear service photos. The repair was done right the first time. Visual aids support correct assembly and troubleshooting. They prevent errors and improve repair success.
Customer Testimonials
- “The detailed photos helped me fix my oven without extra help.”
- “I found the exact part I needed, thanks to clear images.”
- “Tech Appliance’s service photos made the repair process simple and fast.”
- “Seeing the parts in photos gave me confidence to do the repair myself.”
- “Their photos are a big help for anyone who repairs appliances.”
These testimonials reflect real satisfaction and trust. Customers appreciate easy-to-understand visuals. They feel supported during repairs, saving time and money. This feedback drives continuous improvement in our photo services.
Frequently Asked Questions
What Parts Are Commonly Serviced In Tech Appliances?
Commonly serviced parts include circuit boards, power supplies, displays, and connectors. These components often wear out or malfunction over time and need repair or replacement to keep appliances running smoothly.
How To Identify Genuine Tech Appliance Parts?
Genuine parts come with manufacturer labels and serial numbers. Always buy from authorized dealers to ensure authenticity and compatibility. Using genuine parts prolongs appliance life and maintains warranty coverage.
Why Are Service Photos Important For Tech Repairs?
Service photos document the repair process and condition of parts. They help technicians track issues and provide transparency to customers. Photos also assist in warranty claims and future troubleshooting.
How Often Should Tech Appliances Be Serviced?
Most tech appliances benefit from annual servicing. Regular check-ups prevent major breakdowns and improve efficiency. Follow manufacturer guidelines for specific service intervals and maintenance tips.
Conclusion
Tech appliance parts and service photos help you understand repairs better. Clear images show exact parts and how they fit. This makes fixing your appliances easier and faster. You save time and avoid mistakes. Trustworthy photos guide you step-by-step. Keep these pictures handy for future repairs.
Good visuals make a big difference in DIY projects. They help you feel confident and prepared. Remember, simple photos can lead to great results.