If you’ve ever wanted to check your car battery, fix a loose wire, or test your home’s electrical outlets, a Cen Tech digital multimeter is the tool you need. But if you’re not sure how to use it, don’t worry—this guide will walk you through every step in a simple, clear way.
You’ll learn how to get accurate readings, avoid common mistakes, and feel confident handling your multimeter like a pro. Keep reading, and soon you’ll see how easy and useful this device can be for all your electrical projects.

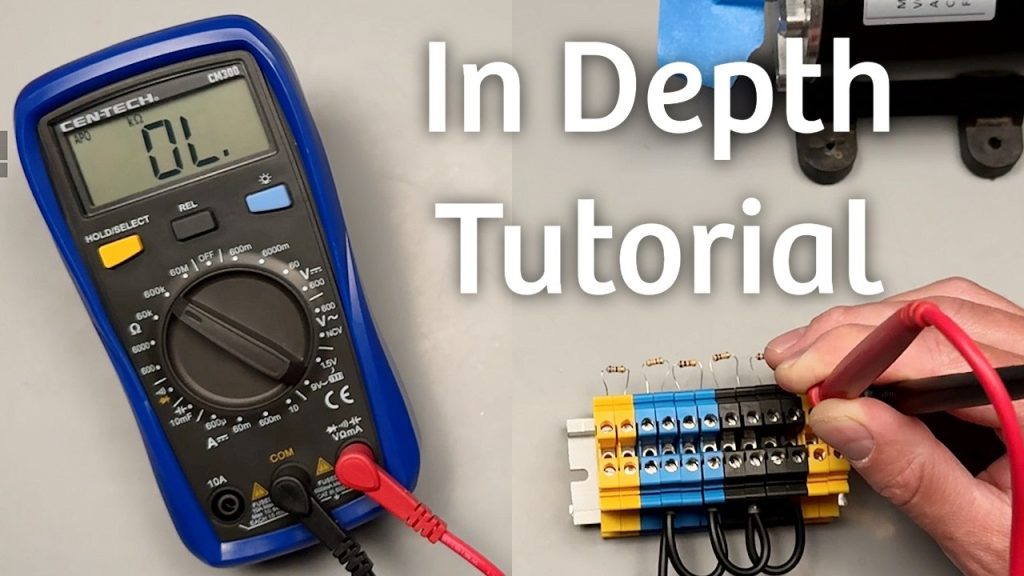
Credit: www.youtube.com
Cen Tech Digital Multimeter Basics
Understanding the Cen Tech Digital Multimeter Basics is essential before you start measuring voltage, current, or resistance. This device can seem complex at first, but once you know its key features and parts, you’ll handle it with confidence. Let’s break down what makes this tool practical and how each control plays a role in your measurements.
Key Features
The Cen Tech Digital Multimeter offers several features that make it a reliable choice for both beginners and experienced users. It includes a large, easy-to-read digital display that shows precise measurements quickly. The device supports multiple measurement modes such as AC/DC voltage, current, and resistance.
Auto-ranging is another useful feature that automatically selects the correct measurement range, saving you time and reducing errors. Many models also come with a data hold function, allowing you to freeze the reading on the screen for easier note-taking. Safety features like overload protection add an extra layer of security during use.
Parts And Controls
Knowing the parts and controls of your Cen Tech Digital Multimeter helps you navigate its functions smoothly. The main components include:
- Display Screen:Shows the measurement values and symbols.
- Rotary Switch:Lets you select the type of measurement and range.
- Input Jacks:Ports where you connect the test leads; typically marked as COM (common) and VΩmA (voltage, resistance, current).
- Test Leads:Red and black probes used to make contact with the circuit or device being tested.
Some models also have buttons for additional functions like backlight or hold. Have you ever been confused by the rotary switch settings? Spend some time turning it through the positions without the leads attached to get familiar with each option. This simple step can save you from misreading measurements later.

Credit: www.youtube.com
Preparing The Multimeter
Getting your Cen Tech digital multimeter ready is the first step to accurate measurements. Proper preparation ensures your device works correctly and safely every time you use it. Let’s look at two essential tasks that set you up for success.
Inserting Batteries
Start by checking the battery compartment, usually on the back of the multimeter. Open it carefully to avoid damaging the cover or the battery contacts.
Use fresh batteries that match the required size, often AA or AAA. Insert them with the correct polarity—look for the + and – signs inside the compartment.
If your multimeter doesn’t turn on after inserting batteries, double-check the placement. Sometimes a loose connection or a dead battery can cause issues. Have you ever been frustrated by a device that won’t power up just because of a small battery mistake?
Connecting Test Leads
Once the batteries are in, connect the test leads to the multimeter’s input jacks. Most Cen Tech models have color-coded ports: black for common (COM) and red for voltage, resistance, or current measurement.
Push the leads firmly into the correct sockets. Loose connections can give false readings or no readings at all.
Inspect the test leads for any damage like cracks or exposed wires before use. Your safety depends on reliable leads, so don’t overlook this simple check.
Measuring Voltage
Measuring voltage is a core function of the Cen Tech digital multimeter. Voltage tells how much electric force pushes current through a circuit. This tool measures two main types of voltage: direct current (DC) and alternating current (AC). Proper voltage testing helps diagnose electrical problems safely and accurately.
Dc Voltage Testing
DC voltage flows in one direction, common in batteries and electronic devices. To test DC voltage with your Cen Tech multimeter:
- Turn the dial to the DC voltage setting (often marked as V with a straight line).
- Insert the black probe into the COM port and the red probe into the VΩ port.
- Touch the black probe to the negative terminal or ground.
- Touch the red probe to the positive terminal of the power source.
- Read the voltage value on the display.
Make sure the probes have good contact. Avoid touching the metal parts of the probes during testing.
Ac Voltage Testing
AC voltage changes direction periodically and is used in home power outlets. To measure AC voltage with the Cen Tech multimeter:
- Set the dial to the AC voltage setting (usually marked as V with a wavy line).
- Place the black probe in the COM port and the red probe in the VΩ port.
- Carefully touch the probes to the two points in the circuit where voltage is measured.
- Look at the screen to see the voltage reading.
Be cautious when testing high voltage AC circuits. Use insulated gloves and avoid contact with live wires.
Checking Current
Checking current with a Cen Tech digital multimeter helps you understand how much electricity flows through a circuit. It shows the flow of electrons, measured in amperes (amps). This is crucial for testing batteries, motors, or any electrical device. Properly measuring current ensures devices work safely and efficiently.
Setting The Current Mode
Turn the dial on your multimeter to the current (A) setting. Choose between milliamps (mA) or amps (A) based on the expected current size. Start with the highest range to avoid damaging the meter. Insert the red probe into the correct port, usually labeled “A” or “mA.” The black probe stays in the common (COM) port. Connect the probes in series with the circuit to measure current flow.
Safe Measurement Practices
- Always switch off power before connecting the meter to the circuit.
- Use the correct ports and settings to prevent damage.
- Never measure current on a live circuit without proper setup.
- Check the multimeter’s fuse if readings are off or no display appears.
- Do not exceed the maximum current rating of your meter.
- Hold probes carefully to avoid slipping and short circuits.
- Remove probes after measuring to avoid accidental shocks.
Testing Resistance
Testing resistance helps check if electrical parts work well. It measures how much a material stops electric current. This test finds broken wires, bad fuses, or faulty parts. A Cen Tech digital multimeter makes this easy and accurate. Follow simple steps to use the meter for resistance testing.
Using The Ohm Setting
Turn the multimeter dial to the ohm symbol (Ω). This setting measures resistance in ohms. Connect the two test leads to the meter: black to COM and red to VΩ. Touch the test leads together to see zero or near-zero. This shows the meter works well.
Next, place the test leads on each side of the part to test. Make sure the part is not connected to power. Hold the leads steady for a few seconds. The meter will show the resistance value on the screen.
Interpreting Results
Low resistance means good connection or part works fine. High or infinite resistance means a break or bad part. Zero or near-zero resistance shows a short circuit. Compare the reading to the part’s normal value. Check the device manual or label for correct resistance.
Use these tips:
- Clean test leads for accurate reading.
- Test parts with power off only.
- Repeat test if reading seems odd.
Additional Functions
Beyond measuring voltage, current, and resistance, your Cen Tech digital multimeter offers additional handy functions that can save you time and help you troubleshoot more effectively. These features let you check the health of components and circuits with ease. Let’s look at how to make the most of continuity testing and diode testing to get the best results.
Continuity Testing
Continuity testing helps you find out if there’s a complete path for current flow in a circuit. This is super useful for checking wires, fuses, and connections without powering the circuit. When you set your multimeter to continuity mode, it usually beeps if the path is continuous.
Here’s a quick tip: connect the probes across the wire or connection you want to test. If you hear a beep, the wire is good. No beep means there’s a break somewhere. This simple test can save you hours when tracing wiring problems in appliances or vehicles.
Diode Testing
Diode testing is another useful function that lets you check if diodes in your circuit are working properly. Diodes allow current to flow in one direction only, so testing them helps you spot faults that can cause bigger issues.
To test a diode, set your multimeter to diode mode and place the probes on the diode terminals. A healthy diode shows a voltage drop (usually between 0.5V and 0.8V) in one direction and no reading in the opposite direction. If you get a reading both ways or none at all, the diode may be damaged.
Have you ever fixed a device just by spotting a faulty diode? It’s satisfying to pinpoint the exact problem without guessing. Using these additional functions regularly turns your multimeter from a simple tool into your troubleshooting partner.
Common Mistakes To Avoid
Using a Cen Tech digital multimeter can be simple with some practice. Avoiding common mistakes helps keep measurements accurate and safe. Small errors can lead to wrong readings or damage to the device. Knowing what to watch for improves your confidence and efficiency.
Not Setting The Correct Measurement Mode
Choosing the wrong mode causes incorrect readings. Always check if you need voltage, current, or resistance. The multimeter dial must match the test type before you connect probes.
Ignoring The Probe Connections
Placing probes in the wrong ports can damage the multimeter. The black probe goes into the common (COM) port. The red probe fits the port matching the measurement, like voltage or current.
Testing Live Circuits Without Proper Safety
Handling live wires carelessly risks electric shock. Use insulated gloves and keep fingers behind probe guards. Turn off power if unsure or when possible.
Measuring Current Without Breaking The Circuit
Current tests need the meter to be part of the circuit. Simply touching probes across a power source causes a short. Always open the circuit to place the meter correctly.
Not Checking The Battery Level Of The Multimeter
Low battery can lead to inaccurate results. Replace batteries regularly to ensure the multimeter works well. A weak battery sometimes shows a warning symbol on the screen.
Forgetting To Zero The Meter Before Resistance Tests
Resistance readings need a zero baseline. Short the probes and adjust to zero if your model allows. This step avoids errors from the probe resistance itself.
Using The Multimeter On The Wrong Range
Selecting a range too high or too low affects precision. Start with the highest range and move down for better accuracy. Many Cen Tech models have auto-ranging to simplify this.

Credit: manualslibraryy.com
Maintenance Tips
Proper maintenance keeps your Cen Tech digital multimeter accurate and lasting longer. Simple care steps prevent damage and ensure reliable readings every time. Follow these tips to protect your device and extend its life.
Cleaning The Device
Keep the multimeter clean to avoid dirt buildup on buttons and screen. Use a soft, dry cloth to wipe the surface. Avoid liquids or harsh chemicals that could damage the device. For stubborn dirt, slightly dampen the cloth with water only. Never immerse the multimeter in water. Clean the test leads with a dry cloth too. Check for cracks or wear and replace leads if needed.
Storing Properly
Store the multimeter in a cool, dry place to prevent moisture damage. Use the protective case if it came with one. Keep the device away from direct sunlight and extreme temperatures. Remove the batteries if you won’t use the multimeter for a long time. This prevents battery leakage and corrosion. Coil the test leads loosely to avoid bending or breaking them. Proper storage helps maintain your multimeter’s performance and safety.
Frequently Asked Questions
How Do I Set Up A Cen Tech Digital Multimeter?
Turn the dial to the desired measurement type. Connect the test leads to the correct ports. Power on the multimeter. Ensure proper settings before testing to avoid damage or inaccurate readings.
Can A Cen Tech Multimeter Measure Voltage And Current?
Yes, it measures both voltage and current. Use the dial to select AC or DC voltage or current. Connect test leads properly. Follow safety precautions to prevent injury or equipment damage.
How To Test A Battery Using Cen Tech Multimeter?
Set the dial to DC voltage. Connect the red lead to the battery’s positive terminal. Connect the black lead to the negative terminal. Read the voltage value on the display to check battery health.
What Safety Tips Should I Follow With Cen Tech Multimeter?
Always start with the highest range. Avoid touching metal parts during testing. Use insulated test leads and gloves. Never test live circuits beyond the multimeter’s rating to prevent shocks or damage.
Conclusion
Using a Cen Tech digital multimeter is simple and helpful. It measures voltage, current, and resistance with ease. Always check the settings before testing. Keep safety in mind while working with electricity. Practice a few times to feel confident. This tool makes electrical tasks clearer and safer.
Now, you can test circuits and devices yourself. A little patience goes a long way. Start exploring your multimeter today and see the difference.